


-
Do not disassemble the keyboard if the keyboard is connected to a power source.
-
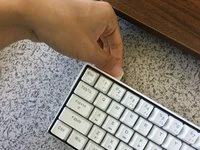
Unplug the power cable from the keyboard.


-
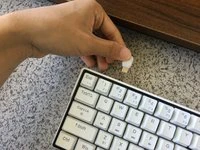
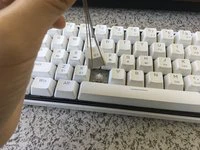
Do not pull the keycap other than straight up.
-
Position the keycap puller directly above the keycap.
-
Push the keycap puller down until the two handles are underneath the keycap.
-
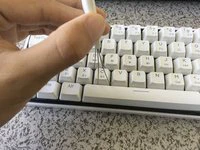
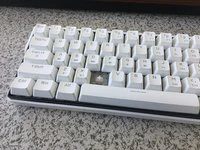
Remove all keys.
-
It may be easier to pull by rotating the puller at a 45-degree angle.


-
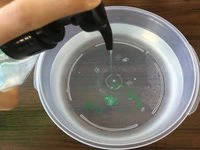
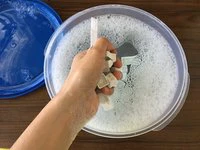
Fill the plastic container with water.
-
Add 2-3 drops of dish soap.
-
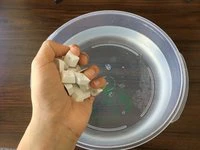
Put the keycaps in.
-
Let the keycaps soak for about 20-30 minutes.


-
Do not leave in sunlight or use a hairdryer because the heat might cause the plastic to warp or bend.
-
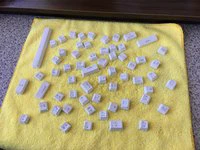
Take out the keycaps.
-
Ensure that the keycaps are separated and facing down.
-
Let the keycaps dry for 45 minutes.
-
If you cannot wait for 45 minutes, you may use a microfiber cloth and hand dry the keycaps. But be thorough in the cleaning process as there may be excess water inside the keycaps.


-
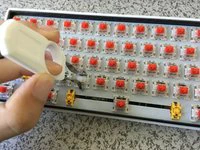
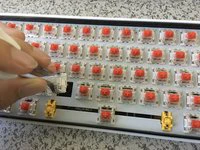
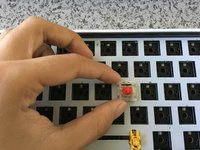
Do not pull the key switch other than straight up.
-
Place the key switch puller above the key switch.
-
Push the tongs inward on both the white top and bottom ends.
-
Pull the key switch out.
-
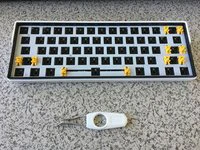
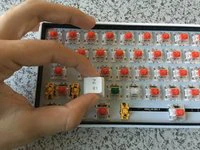
Remove all key switches.


-
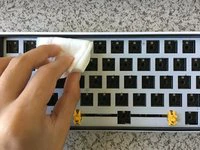
Do not squeeze or clean roughly as you may leak liquid into the board's interior.
-
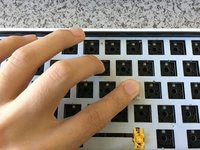
Use a wet/ alcohol wipe and gently clean the surface board.
-
Use any tweezers or cotton swabs to clean tight corners of the board.


-
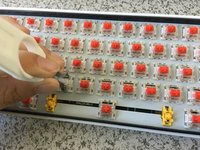
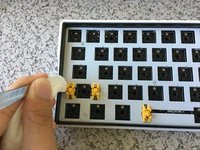
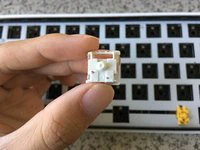
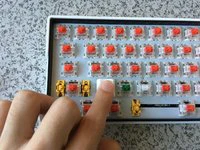
Do not bend or hold by the golden pins.
-
Match the key switch with the keyholes.
-
Align the two golden pins with the two tiny holes located by the bottom.
-
Push down.
-
You will hear a loud clicking noise when the key switch has locked in place.


-
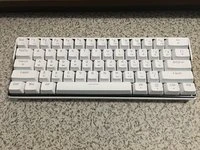
Match the keycaps with the key switches.
-
Align the keycaps facing down and push straight.
-
Place all keycaps in their respective positions.